I wrote this article about replacing control arm bushings back when the 2001 Civic was brand new, I was thin, and my blond hair flowed freely in the breeze. It’s old, but I think it’s still useful. Customers often ask questions about control arm bushings, and since our website lacks other content on this topic, I decided to revive this page. This way, readers can better understand what control arm bushings are and how they function.
What Do Control Arm Bushings Do?
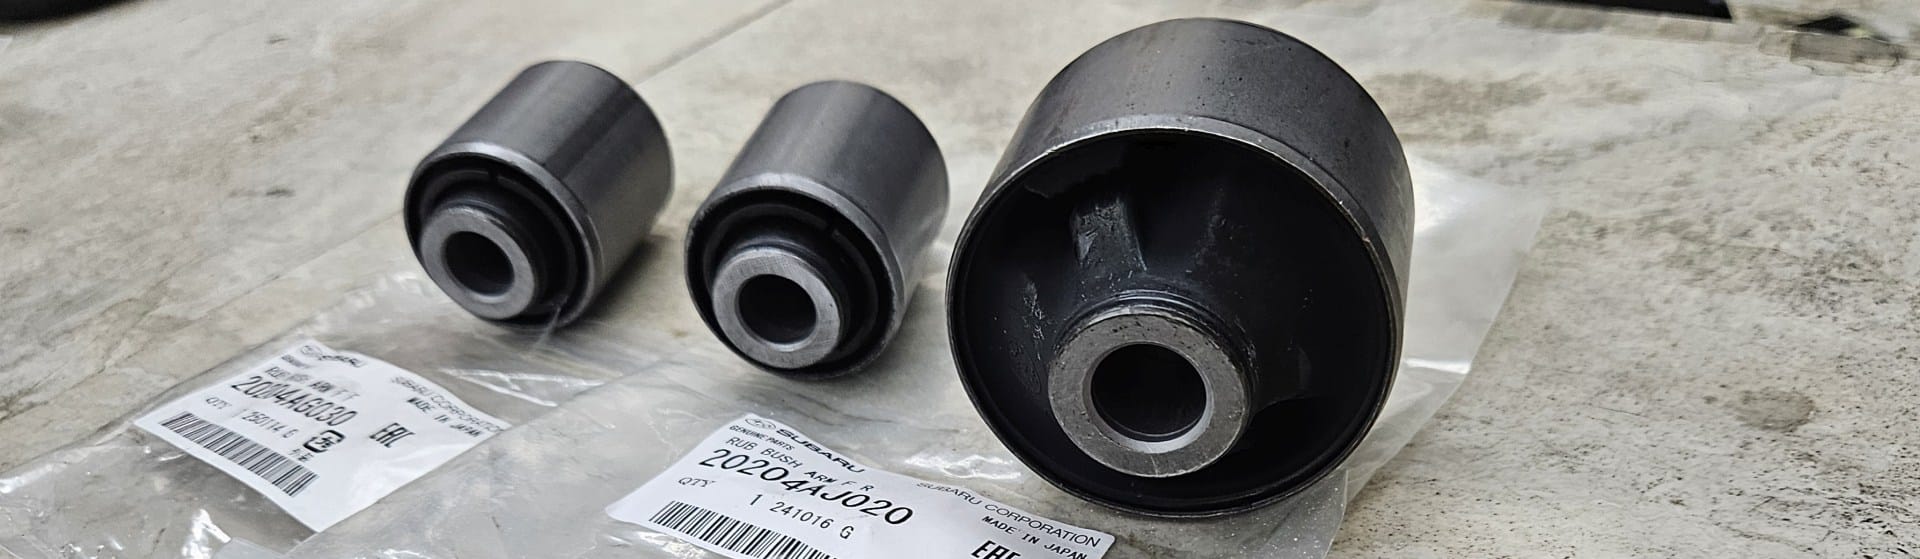
These days we do more Subaru control arm bushings than we do Honda control arm bushings, but the principle is pretty much the same. A control arm bushing just allows the suspension arms to move up and down as a car drives down the road. They provide a rubberized connection between the control arm and the body of the car. The bushing flex allows arm movement but doesn’t transmit a lot of road harshness to the driver.
What Are The Symptoms of Worn Control Arm Bushings?
Worn bushings can cause knocking over bumps, a strange loose feeling and torque steer, squeaking noises over bumps, and excessive tire wear. Are you likely to get stranded on the side of the road due to worn-out bushings? Probably not. I’ve never seen a car towed in due to a bad bushing. However, you should replace them when they become very worn.
What Makes a Control Arm Bushing “Worn Out”.
When are control arm bushings “worn out”? Most service manuals say that mechanics should check the bushings for cracks. Many mechanics take this a little bit too literally, and try to sell control arm bushings when they have tiny cracks that won’t affect the operation at all. When in doubt, you can always ask for a picture. If the bushing is torn all the way through or almost all the way through, then you should probably should replace it. If there are light surface cracks in the rubber, that’s not a problem.

HONDA CIVIC REAR CONTROL ARM BUSHINGS
In 2001, the Honda Civic was totally redesigned, including the rear suspension, with those trailing arm bushings always end up squeaking over bumps. Well, for Civic owners who grew accustomed to their beloved squeaky Civic and thought of the noise more as an “audible rear suspension travel gauge” than a noise better suited to Jed Clampet’s truck, good news, the new generation of Civics squeak from the rear too!
Make it go away!
For those of us who would like their sleek new Civic to glide silently down the road, there’s also good news. Honda has issued an upgraded control arm bushing to fix the squeak.
If your car is still under warranty, any Honda dealer will install the upgraded bushings for free. If your warranty has expired, we’d be happy to install them for you. We keep a set of bushings in stock.
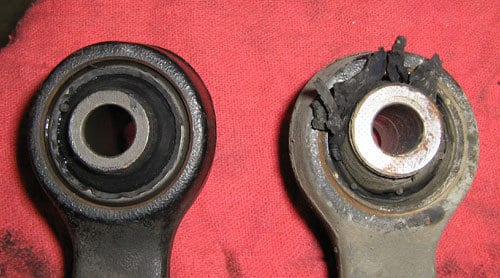
The old-style bushing (on the left) has a metal core covered by rubber. The new style bushing (on the right) has a metal core and a metal shell.
SAVE time (and money) by leaving the control arm in the car
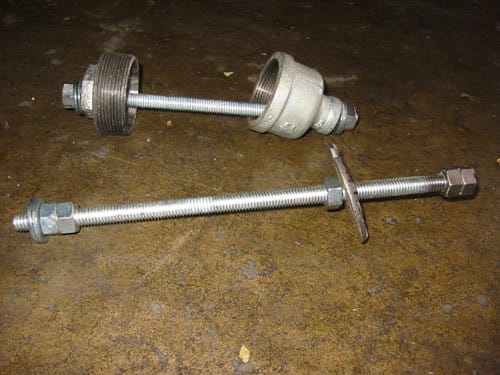
There are 2 special tools required to install the updated bushings. The tools are available from Honda. However, in the interest expediency (and thrift), we made our own. The tool on the bottom is for pressing the old bushing out. The tool on the top is for drawing the new bushing in. In days not so far past, making your own Honda tools was the only way to get them.
Now, Honda (much to their credit) has opened the door wide to supplying independent shops with everything available to the dealerships. Their reasonably priced web site has all factory manuals after 1996, service bulletins, and all you need to equip your shop with any tool available to the dealers.
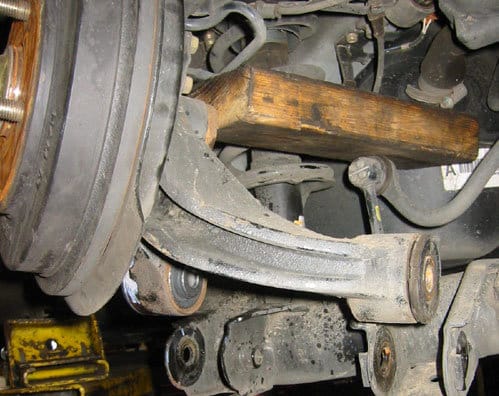
After marking the position of the eccentric alignment washers, the lower knuckle bolts are removed and knuckle is held away with a 2x4x8 block of wood. As long as the marking is done carefully, the alignment should not be changed after the procedure. This of course assumes the alignment was OK in the first place.
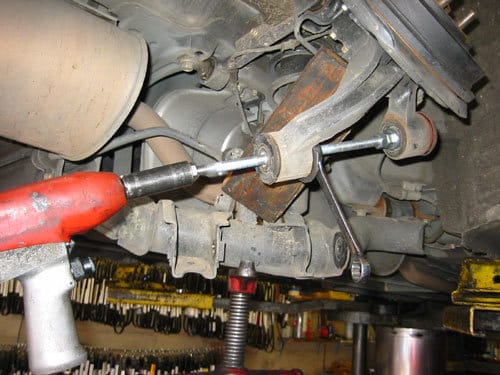
The bushings are then driven out. Since I made the tools myself the warning found on most drivers & pullers, “not for use with air tools”, is missing. Yet another advantage of building your own tools 🙂
New control arm bushing installed
With the new control arm bushing installed, the arm looks a whole lot better and the car will bounce silently down the road with no annoying squeaks.