In general, we do not offer stand alone machine shop services for other shops or individuals. We have set up our machine shop primarily to control costs, repair times, and quality for machine work on cars we are repairing here at Art’s. We will do the odd brake rotor, flywheel, head resurface, or pressure test, but for the most part, we recommend you take your machine business to Hasselgren Engineering. Their capabilities far exceed ours and they seem to be willing to work a few small jobs in between high tech race motors.
Complete engine overhaul
Fortunately or unfortunately, depending on how you look at it, most Japanese cars are so old and worn out by the time the engine needs a rebuild, the value of the car will not support the cost of a full rebuild. Most of the time we only get to do engine repairs rather than full rebuilds. However, from time to time we find an owner who loves their car and wants the engine to perform like new. We now offer nearly every machine operation necessary to restore an engine to like new condition in-house.
Rebuilding the engine in-house offers several significant advantages over having a rebuilt motor shipped to us. This approach allows us to maintain complete control over all aspects of quality. Firstly, we can ensure the use of top-quality nitrided rings instead of standard cast iron ones. Secondly, we have the ability to not only meet but exceed manufacturers’ requirements for surface finishes. Thirdly, we can implement sealing methods that we know will be effective for this specific engine. Lastly, we can dedicate as much time as necessary to achieve clearances that match those of a brand-new engine. This meticulous attention to detail and quality control ultimately results in a superior rebuilt engine.
There are production engine manufacturers out there that do great work. Many are even better than us. Unfortunately, there are also some very bad engine builders out there, some of them with major OE remanufacturing contracts. With some makes, you can’t even trust a high cost motor purchased from the dealer. When we do it ourselves, at least we know exactly what we are warranting.
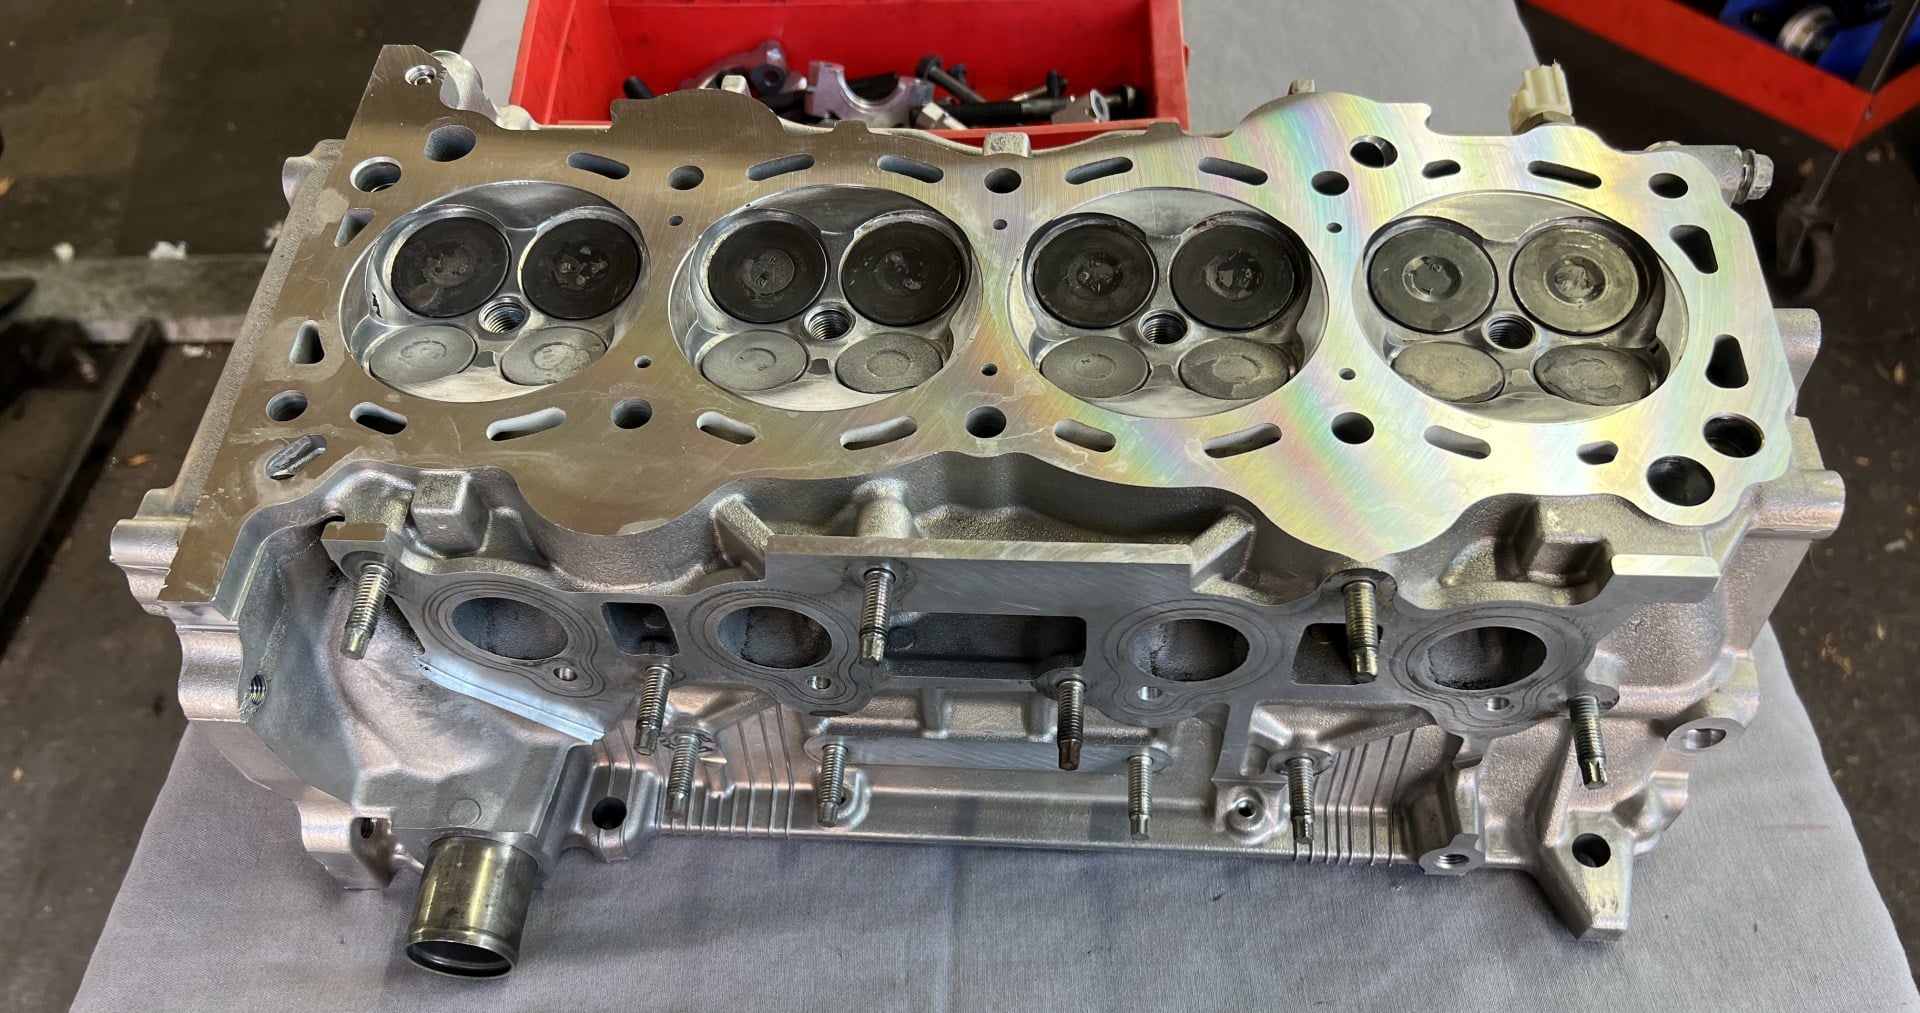
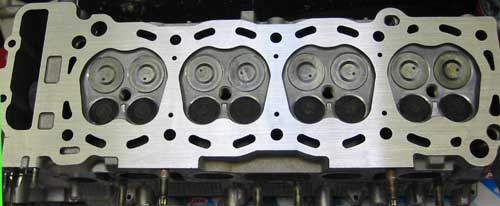
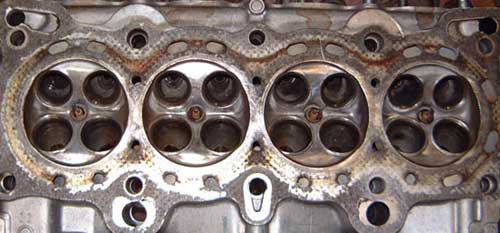
Valve Seat Grinding
The valve seats are steel inserts pressed into the aluminum head. The seat to valve contact angle is cut to 45 degrees. The width and contact position on the valve are usually adjusted with a 60 degree “throat” cutter and a 30 degree “top” cutter. Some cars use different angles; we always follow the manufacturer’s original specs when grinding the seats. The attention given to getting the seat cut effect on how long the rebuild will last. Our machinist, Sandor, has the necessary experience and the commitment to quality to ensure your rebuilt head will perform the same as it did when it was new.

Valve Grinding
We charge 0.1 labor hour to grind a valve. Most new valves cost between $15 and $35 each. On a 16 valve head, grinding instead of replacing could save you as much as $475. It still makes sense to grind whenever possible. Many valves found in newer cars are tiny, and don’t have much of a margin. We only grind valves when the manufacturer says it’s an acceptable procedure and we always thoroughly inspect the valve for wear before machining and maintain the manufacturers minimum margin specification. For those of you looking at the picture and thinking, “Wow, that looks like an old valve grinder!”, you’re right. But old does not equal bad. This is a very well built Snap On unit and works as well today as it did when it was new. We also have reducing collets and can machine valves with stems as thin as 4mm.
Cylinder head milling
This is a Kwik-Way 855-5 head surfacer I put about 40 hours into restoring and converting to a mill. Worrell Industries in Berkeley remachined the ways, and we replaced the grinding stone with a Jamison milling head.
The traverse motor was replaced with a DC speed controlled motor, to slow the feed rate down to a barely perceptible creep. This machine now produces a *very* smooth 15 RA finish on aluminum heads using a CBN insert & WD40 as lubricant.
Hasselgren Racing did the surface roughness testing since they are the only machine shop in the area who own a profilometer. We have recently switched to a PCD insert and Goodson’s High Performance Surfacing Spray. Our surface finish is looking smoother than ever, but we have not tested another sample of our work yet. However, 15 RA is 5 RA better than the lowest surface finish spec we’ve encountered for engines with MLS gaskets so far, so how much better it is after our switch to PCD really doesn’t matter.
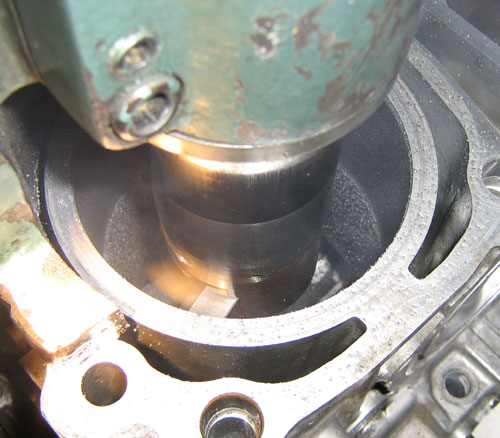
Cylinder Boring
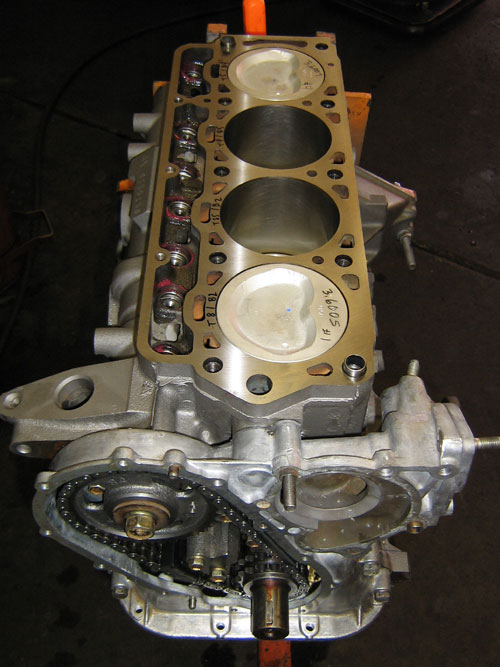
When the cylinder wall wears beyond the manufacturer’s tolerances, you must bore it oversize for use with oversized pistons. Several honing steps must follow boring in order to create a surface finish that will both hold oil for lubrication and provide good sealing. When available, we will follow the manufacturer’s procedure for boring and honing.
For instance, for the 5SFE motor, Toyota recommends boring to .0008″ (just under .001″) below the finished size. Then using a 400 grit rigid hone to finish the bore to size. However, frequently there is not a published procedure. When we don’t have access to a procedure we bore to .002″ under finished size, remove an additional .0015″ with a 280 grit Sunnen Hone, then remove the final .0005″ with a 400 grit Sunnen hone to create a plateau finish. We follow that with a nylon ultra finish soft hone in counter clockwise direction to remove folded or torn metal left by the honing process. After the boring and honing is complete, the cylinder walls get a serious scrub-down with hot soapy water.
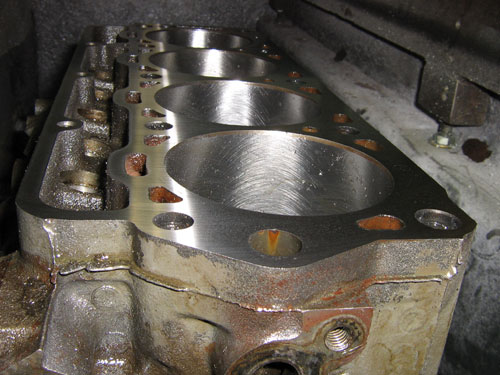
Decking cylinder blocks
Occasionally, the cylinder block deck will need to be resurfaced. Deck warpage more commonly occurs on Subaru engines and other aluminum blocks with sleeve inserts, but it can happen to any type of block. We can surface most 4 cylinder and inline 6 cylinder blocks, but we are currently unable to surface V6 and V8 blocks.
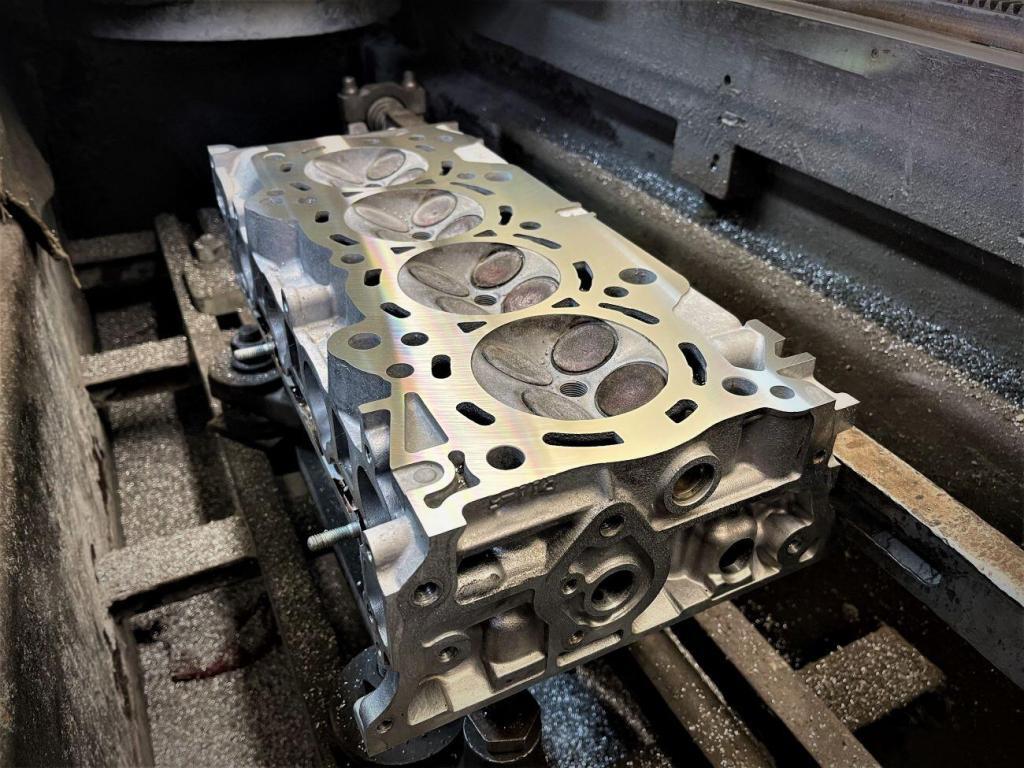
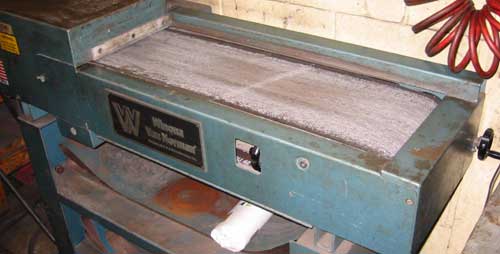
Cylinder head resurfacing
**OBSOLETE PROCEDURE**
At one time we were using a platen grinder surfacer for cylinder heads. It uses an 80 grit Silicon-Carbide belt to grind the cylinder flat. Since this is a “dry” machine with no circulating coolant / lubricant, we coat the belt with Goodson’s Grind Aid. This has improved the surface finish we obtain with this machine. However, many applications are using MLS (Multi-Layered-Steel) gaskets which require a very smooth surface finish. For a while we were lapping to obtain a surface as smooth as original, but this was very labor intensive. Now that we have a head mill with PCD and CBN inserts, we rarely use this machine for anything but resurfacing exhaust manifolds.
Cylinder head Lapping
**OBSOLETE PROCEDURE**
Engines with MLS gaskets require very low RMS finishes to seal properly. Since 80 grit is the finest belt currently made for platen grinders, we use a granite surface plate (a precision machined slab of granite, ground to .00001″ of perfectly flat, originally intended as a base for measuring). We smear some 400, then 800, then 1200 grit lapping compound on the plate and then slide the cylinder head in a figure eight pattern until the surface finish is very smooth. We were originally concerned that this technique would create a convex surface on the cylinder head. However, we’ve found no measurable change in the flatness of the cylinder heads we’ve done so far and no measurable wear is evident on the plate itself. This technique is physically tiring, but produces a beautiful finish.
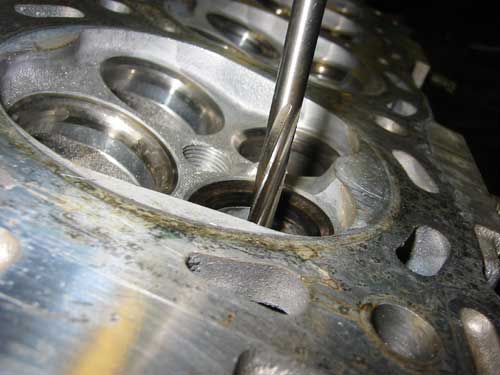
Valve guide replacement
If the valve guide to valve stem clearance is excessive it causes two problems: one, the valve seat can not be cut concentric and two, the engine will consume more oil than necessary. The condition of the valve guides can not be known until cylinder head is out of the car and the guides are measured. This means when we find worn guides, we need to call you for additional authorization to replace the guides. Worn exhaust guides are more common than worn intake guides because the exhaust valves get much hotter than the intakes. To remove the guides, we heat the head to 200 degrees (F), then we drive the guides out with a driver powered by a pneumatic hammer. To install the guides, we reheat and chill the valve guides before driving them back in.
Valve guide reaming
This is included with the price of valve guide replacement. The new valve guide must be sized to obtain the manufacturer’s specified oil clearance. This is done by measuring the valve stem, adding the oil clearance spec., and using a sized reamer to cut the guide to size.
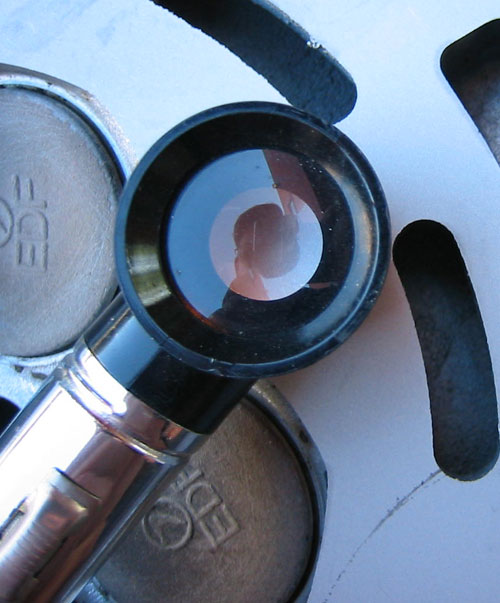
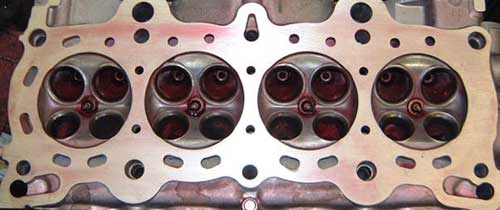
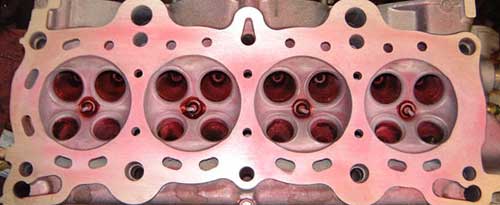
Penetrant Dye Crack Checking
The first step is to clean the cylinder head. Care must be taken to prevent covering cracks by wire brushing. Aluminum is a fairly soft metal and a vigorous brushing can actually cover cracks, making them undetectable with dye. Next a penetrating dye is sprayed on the area to be checked and allowed to soak in for 5 minutes or so. After soaking all of the dye is wiped off using shop towels. Once the head is cleaned, a developer is sprayed on. Cracks will show up as red lines. Just going though the motions of a penetrant dye test does not guarantee you’ll find a crack. The key to success is very careful inspection. The dye is just a tool that makes finding cracks a little easier. The real way cracks are found is through the thoroughness and experience of the person doing the test, not the test itself.
Now that we own a cylinder head pressure tester, we almost always pressure test instead of dye checking. The pressure tester will locate cracks or porosity under valve seats that would be impossible to detect with dye.
The dye still comes in handy though. It’s good for checking the plastic cam gears found on the 1996-1999 Subaru 2.5 DOHC EJ25, as well as other parts other than cylinder heads.

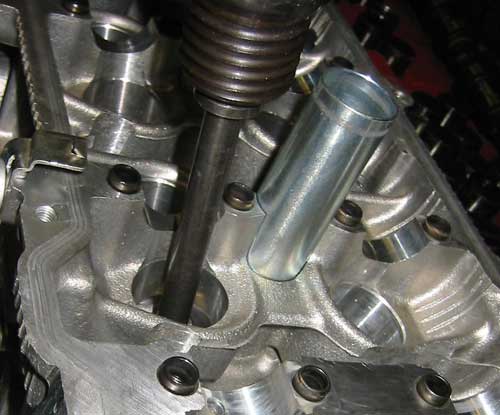
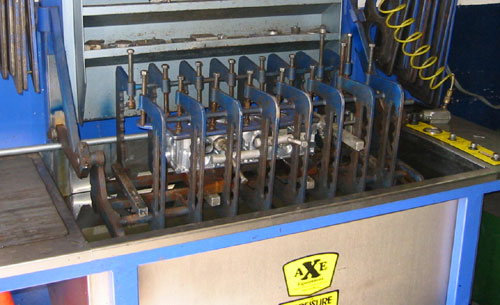
Cylinder Head Pressure Testing
Pressure testing is the best method of testing for cracks because cracks in areas that are not visible can still be found, areas like under the valve seat or half way down a head bolt hole. This is an Axe pressure tester we purchased used. It does not require a special plate set for each new head. Instead it uses 20 universal deck plates and universal port block off plates in various sizes. It covers 95% percent of all heads and 100% of the heads we repair here at Art’s. To check for cracks, we block all of the cooling system ports, then we pressurize the water jacket to 40 PSI (about 3 times normal cooling system pressure). We then submerge the head in heated water to bring the head up to its normal operating temperature, and to make leaks easier to spot by following the bubble trail.
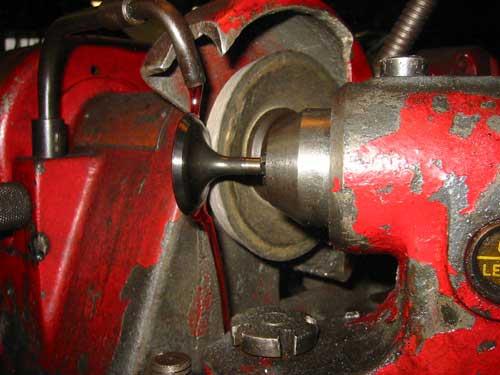
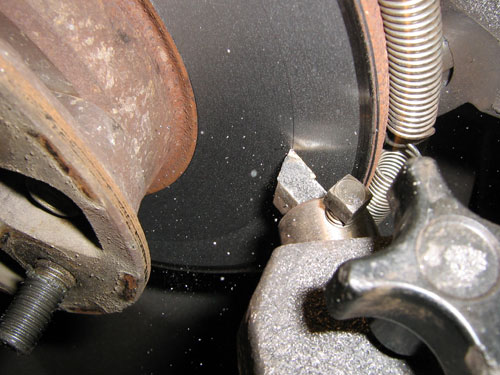
Flywheel Grinding
Art bought this flywheel grinder in the 1990’s, and it’s more than paid for itself. Buying an expensive single use machine can be a little risky for an independent shop. However, the being able to in-house machine the flywheel on every clutch job has allowed us to offer a better quality clutch job in a single day without driving to and from the machine shop and worrying about whether the machinist will get the flywheel done in time.
We have just switched from silicon carbide stones to diamond cutters and we’re very pleased with the results. The diamond cutting wheel cuts flywheels much faster and leaves an attractive sharp step on the flywheel and a very nice finish.

Brake Rotor and drum resurfacing
We recommend resurfacing the brake rotors any time the pads are replaced. Some manufacturers (Subaru for instance) are now recommending rotors be either reused as is or replaced. Their concern is that many shops will not be able produce a suitable surface finish.
We are able to machine rotors to better than a 60 micro-inch finish on our Hunter Lathe (as measured using a surface finish gauge). We then use a 150 grit sanding disc to apply a cross-hatch and improve the finish to about 45 micro-inch. This is comparable to the finish on new high quality brake rotors and a lot better than some of the cheaper brands.
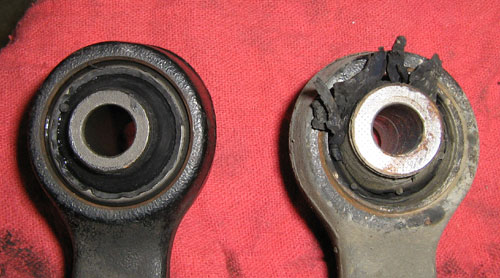
Pressing bushings and bearings
Many bushings are available to repair control arms and other suspension components. Our customers can save a lot of money by repairing their suspension parts rather than replacing them. The control arms pictured on the right cost $262 new, but the bushings were only $26, one tenth the cost. Being able to perform this type of work in house means we can get cars in and out on the same day instead of being at the mercy of a sublet vendor. We also press our own bearings and gears.
Welding repair can save a lot of money over buying new parts, and in some cases, the part’s strength can be increased over the original. We now own a Lincoln Electric Precision TIG 375, and are offering more aluminum welding, including cylinder head repair. Welding is also very handy for Friday evening emergencies; a cracked thermostat housing that might leave a customer without a car for the weekend can be fixed in a jiffy with a TIG welder on the premises.
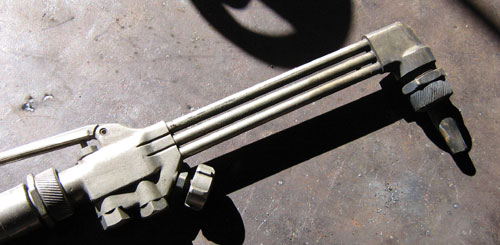
Oxy / Acetylene Welding
We don’t really weld much with oxy acetylene. We mainly use it for heating, and cutting.
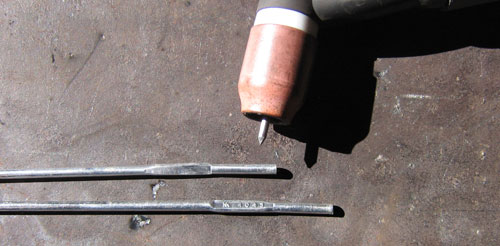
GTAW (TIG)
TIG welding is similar to oxy / acetylene welding in that the torch is held in one hand and the filler is added with the other. Heat can added without added without adding more filler. If you notice poor fusion in a section you’ve welded, you can just go back and re-melt the section. The amperage can be modulated with the foot control to compensate for heat build up in the work piece as you weld. Any filler material can be used without need to change spools or liners.
GMAW (MIG)
We use MIG for welding steel. It’s the easiest and fastest process and produces smaller more attractive beads than Oxy Acetylene.
Exhaust Welding
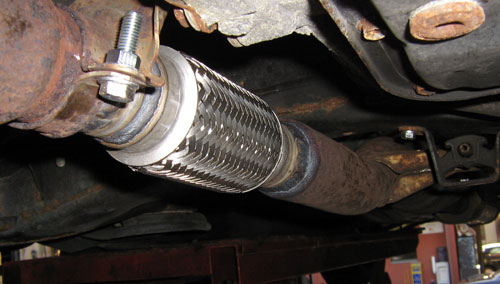
This is a picture of the flex joint we welded into the catalytic converter of a 49 State Camry. The old flex joint had cracked and was leaking. A new converter cost $1100, just for the part! Since the rest of the pipe was in relatively good condition, we were able to weld in an aftermarket flex joint for about a third the cost of just the new part. We used the TIG welder for this job since this area of the exhaust is highly stress and we wanted to be sure our work held up over time. The TIG welder uses a high frequency pulse to start the arc and can sometimes damage sensitive electronic equipment (although it is very rare). Since this car is loaded with electronic control units, we tacked the flex joint in position with the MIG, then did the TIG welding off the car.
Cast Iron Welding
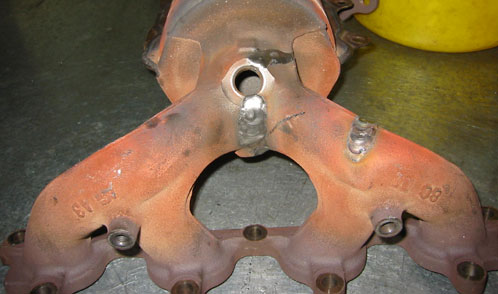
This is a cast iron exhaust manifold that had cracked in several places. I use the TIG welder and pure nickel filler rod to weld cast iron. Cast iron is a difficult material to weld because it is very rigid and will crack rather than bend. When it is melted (as it is when welding) it will expand. When it cools and contracts, it will crack in areas adjacent to the weld. The solution is to preheat the entire casting slowly and evenly, weld, then allow the casting to cool slowly and evenly. Unfortunately our oven does not get hot enough for proper cast iron preheat, so my experiences welding cast iron have been mixed. I tend to have far better luck with welds on an edge or corner of a casting, rather than in the center.
This next list contains machine shop operations that we outsource. All of these operations are better performed by those willing to invest in the specialized equipment necessary to do the job properly:
Connecting rod servicing
Crankshaft grinding
Align boring