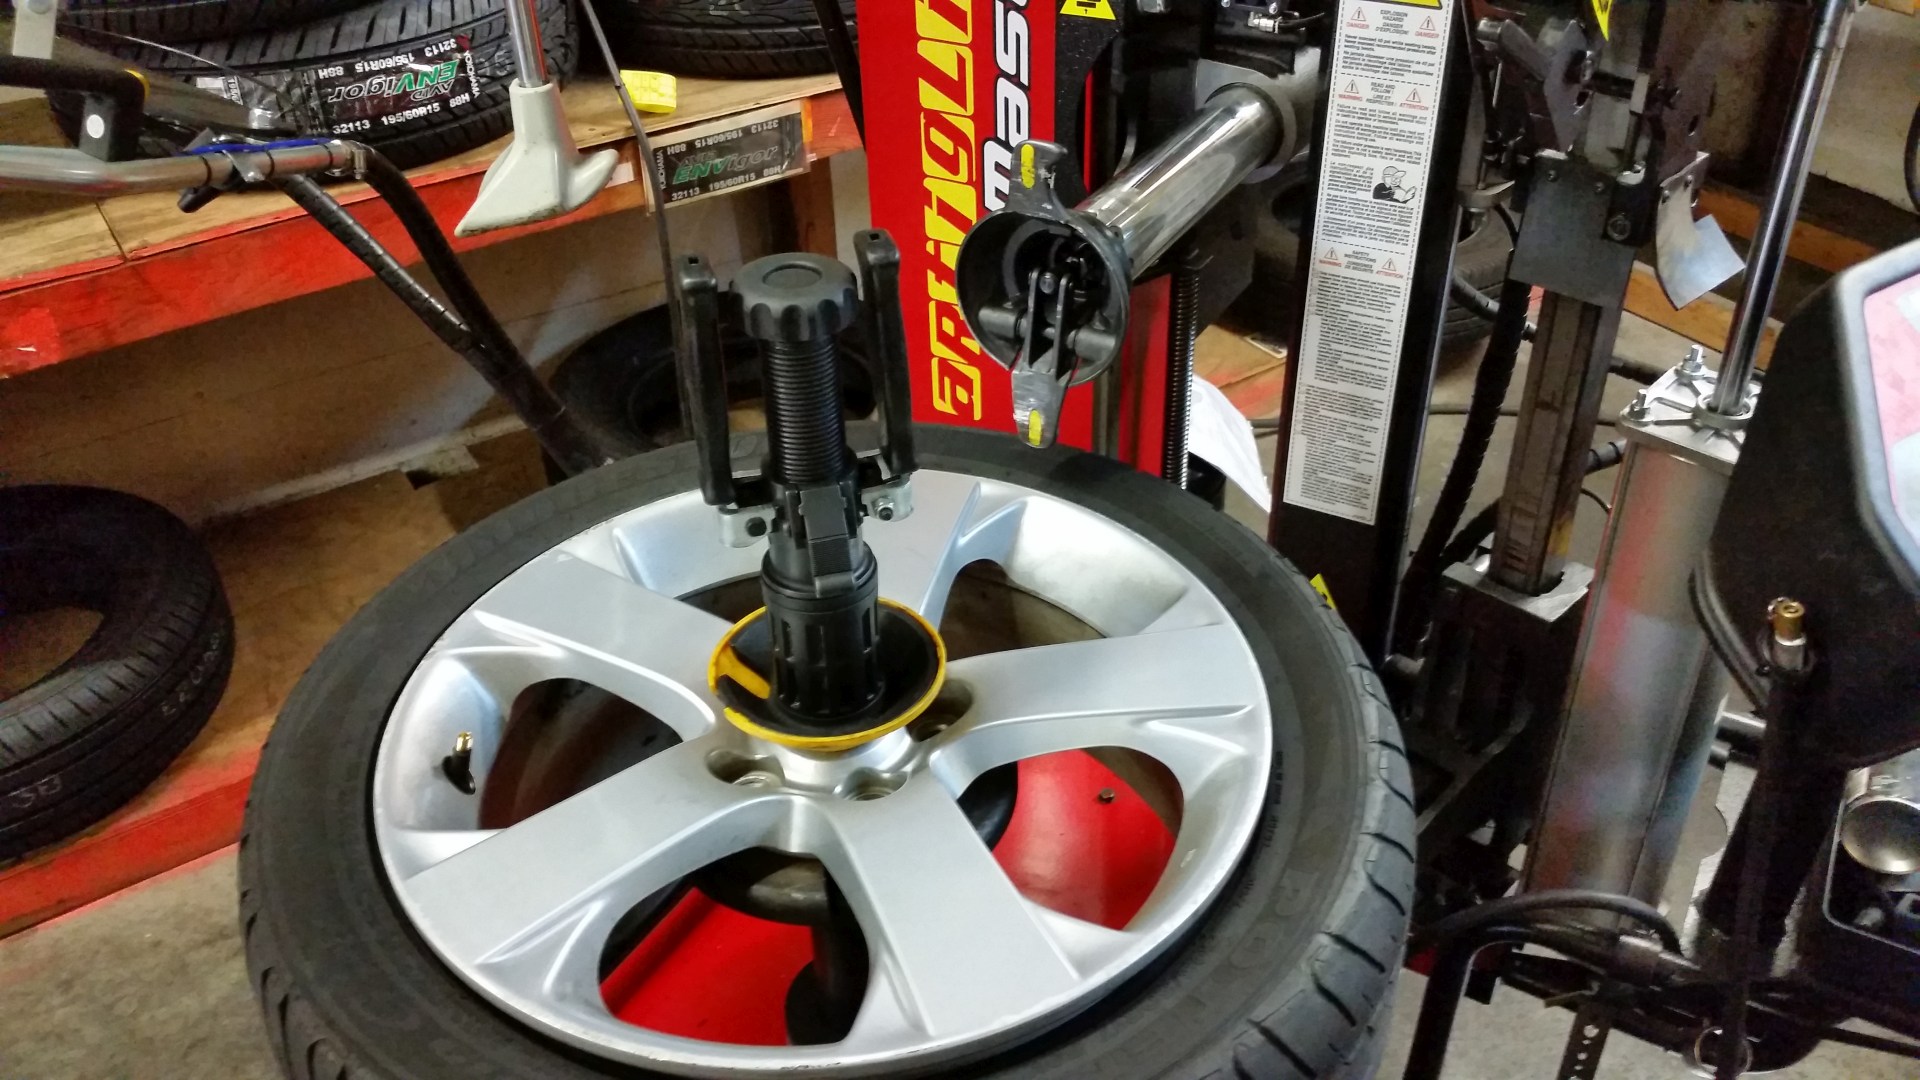
Tire Repair Using A patch and Plug
We only offer one type of tire repair at Art’s Automotive: an internal patch/plug combo. A plug-only is about a third of the cost of a patch/plug, so people often want to know why one shop charges so much more than another. For the record, repairing with a patch plug is the only RMA (Rubber Manufacturers Association) approved way to repair a tire, but plugging was effective. These days you’d need to be a fool to plug a tire. Here’s an old article about plugging tires if you’re interested. Lawyers have put an end to plugging in all but a few shops.
Repairing tires with patches
A tire patch/plug is (and always has been) the best way to repair a tire, but it costs more because of the additional time and materials necessary to do this type of tire repair. Here are some of the reasons you might want to pay more for this repair:
1. You have expensive tires with lots of tread left, and you want a quality repair to protect your investment.2. You’re willing to pay more increased reliability.3. A family member drives the car, and while you might go with the cheaper option on your own car, you want the very best for them.4. Your tire has an injury that cannot be repaired with a plug.
Find the hole
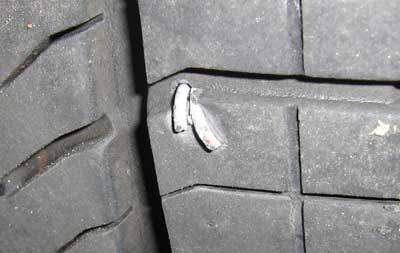
The first step in any tire repair is to find the injury. This one was easy enough; we just followed the hissing sound to the bit of metal sticking out of the tire. We didn’t even need the dunk tank or soapy water.
Remove the tire from the rim
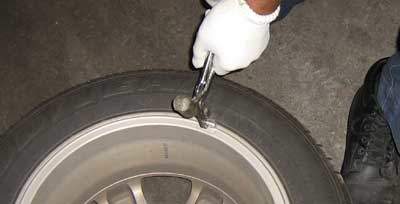
To install a plug patch, the tire must be removed from the rim. Before that, the wheel weights must be removed to prevent damage to the tire as it is being removed from the rim.
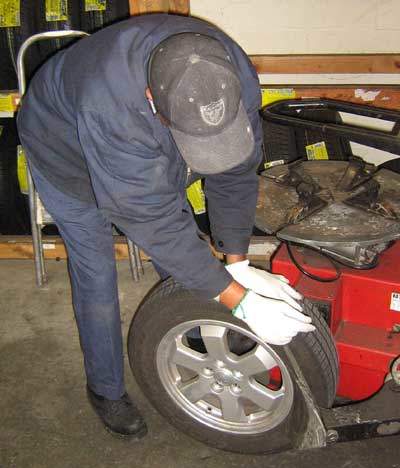
Here Leon is “breaking the bead” which basically means getting the tire unstuck from the rim so it can be removed.
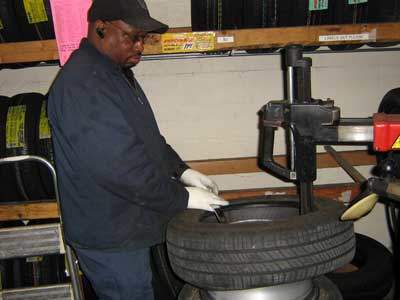
Then the wheel is moved onto the turntable and the tire is removed from the rim.
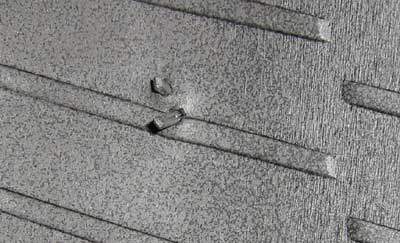
Here’s an inside view of the damage. Looks like it was a large staple that got stuck in this tire so there are 2 holes in it. A plug patch has only one “plug” portion. This raises the question of whether it would be better to install a separate plug in one hole, and use the patch plug to fill the other, or to just fill one of the two holes with the patch plug. I think that because the holes are so close together, the latter would be the better option.
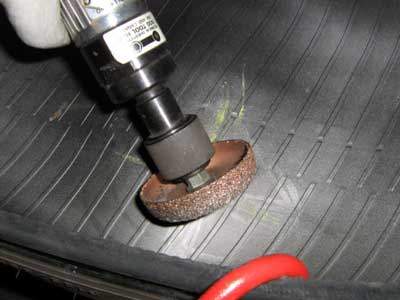
Prepping for the patch
We’ve marked the injury with chalk, removed the staple, and now we’re buffing the area.
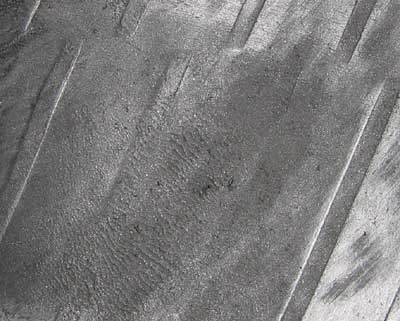
The buffing removes the slick surface and exposes a “raw” surface the patch will stick to. We also use a solvent to remove the mold release agent the tire was coated with during manufacture and prep the rubber for the tire cement.
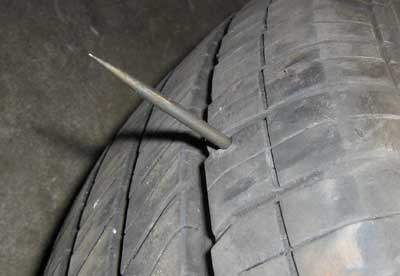
Next, we gently guide a pick through the injury to find the angle and make sure the plug patch will fit through. If it won’t, we’ll need to use a carbide burr to enlarge the hole a little. There are different size plug patches for different size injuries.
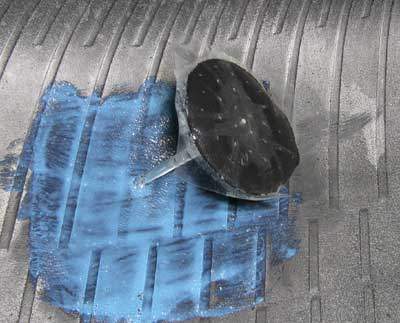
Installing the tire patch
Tire patch cement is applied and allowed to dry for 5 minutes or so. Then the plug patch is pushed into place. The plug portion of the plug patch is encased in a disposable metal sleeve to guide it through the tire.
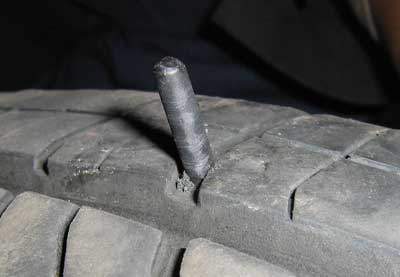
Once through the tire, the metal sleeve is removed, leaving the rubber tire plug in place. The rubber plug is then cut so it is flush with the tire.
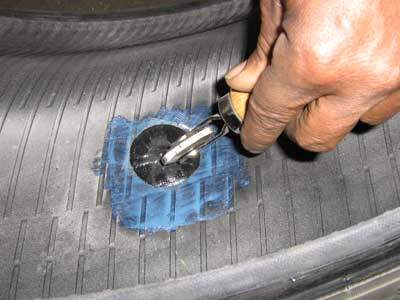
The patch is then smushed into the tire using a tool called a tire stitcher.
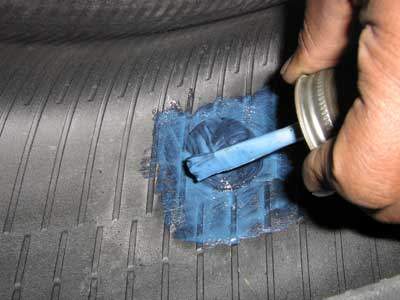
Then the tire patch and surrounding area is covered with a product called Security Coat. This product seals the rubber under the buffed liner to prevent seepage.
Reinstall and rebalance the tire
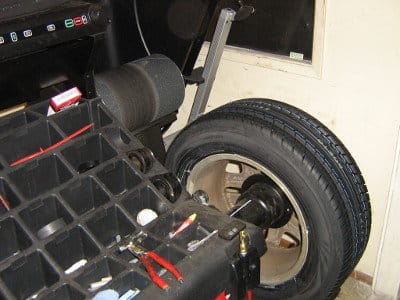
Then the tire is installed on the rim, re-balanced, and rechecked for leaks. Even when working at a good pace, it takes about a half hour to complete the whole process. Plus the cost of the patch, wheel weights, and a valve stem.
