Sometimes in life you end up holding a bad hand. Oh well, things happen. But it’s made a whole lot worse when you were dealing the cards yourself. In today’s story I screw up and had to work to redeem myself. In the end everything came out OK and in the end nobody was mad. And to be honest, it was a fun project.
Hey, could you press a bearing for me?
A guy comes in and asks the office staff if we’d be willing to press some bearings on a shaft. It’s an antique saw from the 1950s that he’s restoring, but he doesn’t have the equipment to press the bearings himself.
It’s not the type of work we do here. We’re busy with daily drivers and we don’t normally do any walk-in machine work, but it’s a pretty easy job so why not. Let’s earn a six pack.
Huberous strikes
Sometimes when something it very simple I don’t give it my full attention. I’m not worried about screwing it up. Why would I be? It’s such a simple job. I’ve done hundreds just like it. It’s just like driving a car to work or brushing my teeth.
I managed to pull off the mechanical equivalent of rear ending a car on my way to work. There was no excuse. It was just bad acting on my part.
The screw up
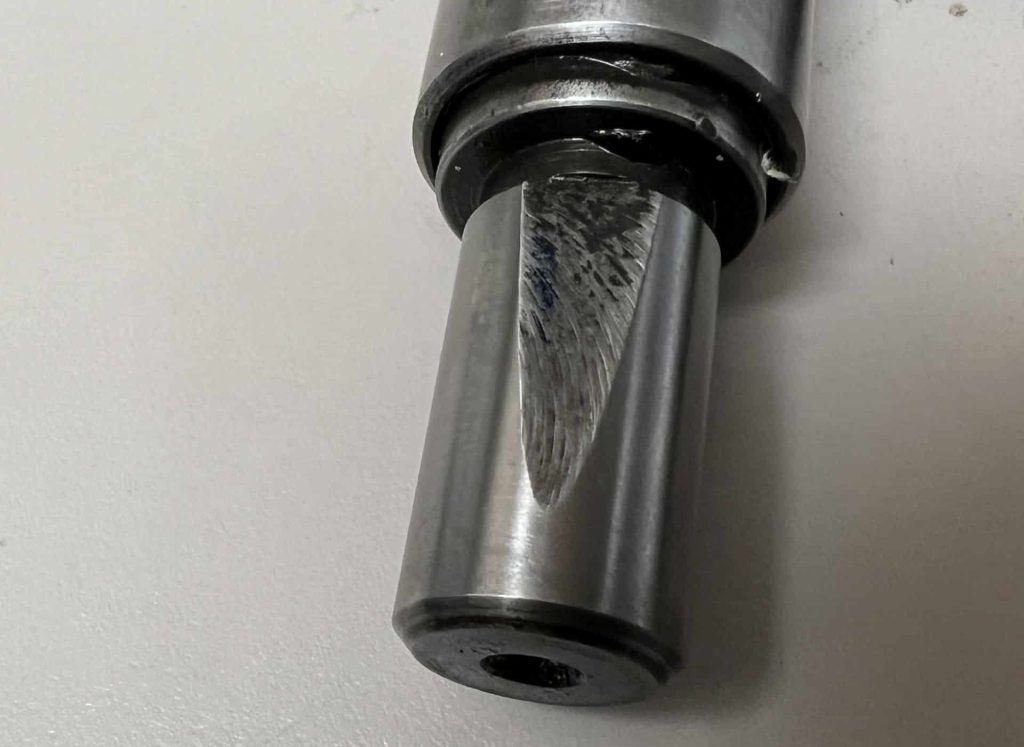
I chose a socket to press the bearing on the shaft by the inner race. So far so good. The bearing pressed right on. Great. Time to slide the socket off the shaft. Uh oh. Time… to… slide… the.. socket.. Argh! WTF!
The socket was good and stuck. It wouldn’t budge. It was a hard chrome socket too, so it wasn’t easy to grip.
What happened was pretty obvious what happened. The inside of the socket narrowed towards the end (as most sockets are), and I had checked that the socket slipped over the shaft to the depth of the bearing, but not to the position it would be in when installed.
THAT SINKING FEELING
Maybe I’d just need to do a little dressing? Maybe I could clean it up so it wouldn’t be obvious I’m a dumb ass?
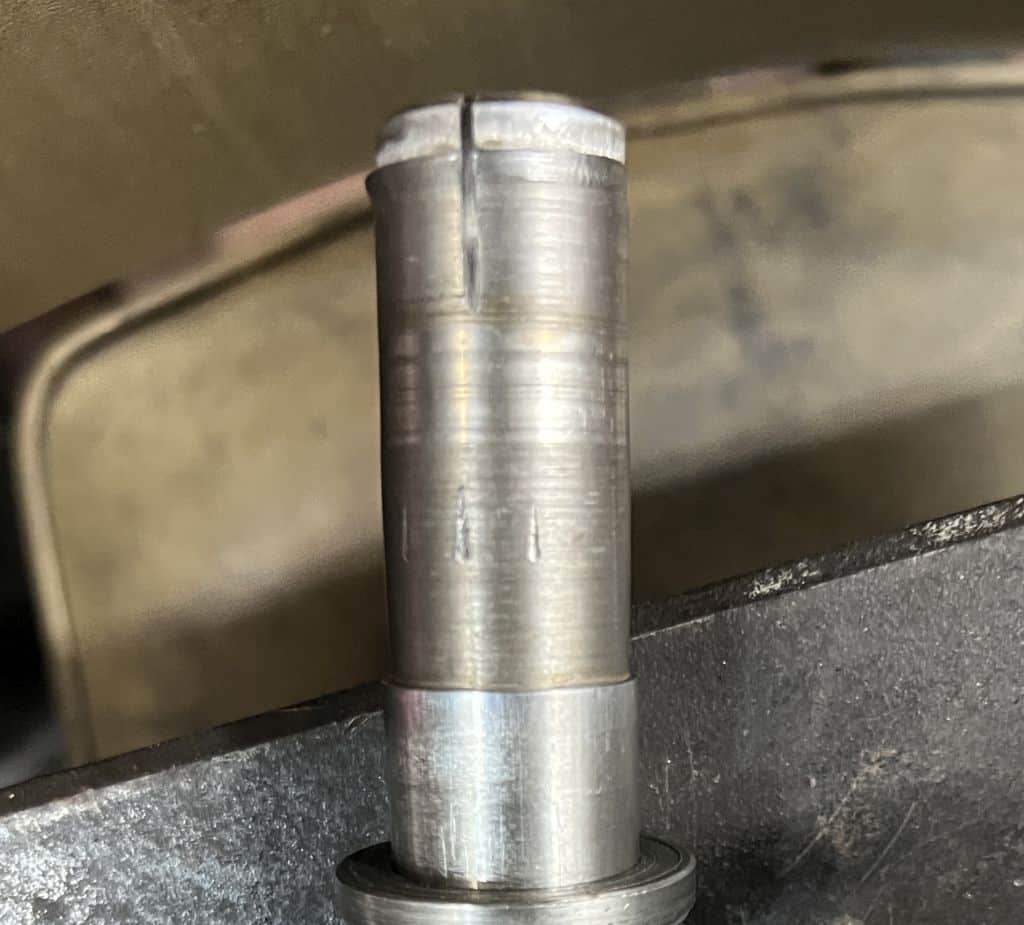
Nope. That wasn’t going to happen. The shaft was both galled and bent.
Crap.
I was very bummed about derailing this guy’s project. How was I going to tell him what had happened? How sad or angry would he be? Regardless, I was very disappointed in myself. I wasn’t working out of my depth. I was simply careless, with somebody else’s stuff.
There’s no way forward but forward
After spending a little too long staring at the mess and wishing I hadn’t done what I’d done, I decided that the only way to go was forward. I couldn’t run down to the local antique saw parts store and pick up a new one, so I’d need to fix this one.
The shaft was bent. Ok. I’d need to straighten it. The galling a burr were ugly but weren’t on a functional part of the shaft.
Plan “A”
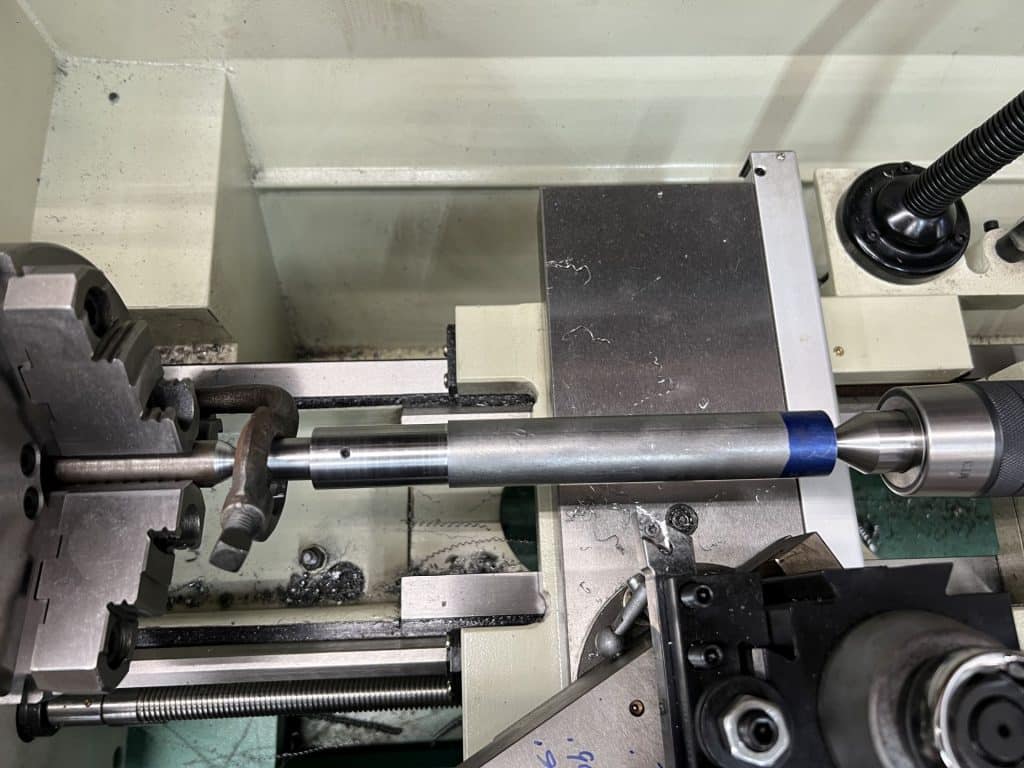
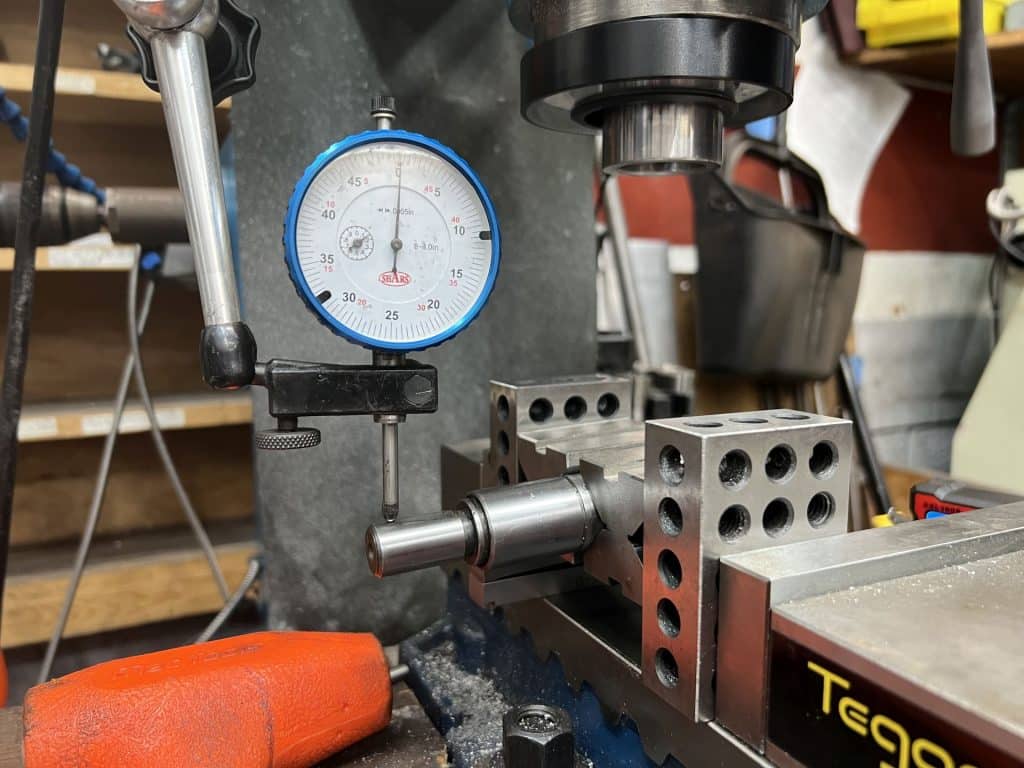
My first plan was to heat, bend, measure, and repeat. I set the shaft up on the lathe and made an arbor to put in the splines on one end so I could measure there, since the spines weren’t really concentric with the outside of the shaft.
The issue with this plan was that as the shaft cooled from heating, the shrink would pull the shaft unpredictably. Several times I got the runout to within .005″ while warm, only to have it pull back to 10x as much as it cooled. Weld shrinkage wasn’t easy to control when heating the shaft all the way around.
Plan “B”
Well, if you can’t beat ’em, join ’em. Instead of fighting the weld shrinkage, I’ll use it to my advantage. One technique to straighten a shaft is heat shrinking. Am I an expert in this method? Nope. But hey, I’ve seen a few YouTube videos so I should be able to pull it off. Right?
I tried for a while and I actually had it pretty close to straight at one point. Then I tried to make it perfect and never got back anywhere near as good.
After well over an hour trying to heat straighten, I had to admit that I didn’t have the skill to get it done. It was probably mostly luck the one time I got it close.
Time to make someone else face the music
I had burned through about 4 hours trying to fix my screw up and avoid the consequences, and the end of the day had come. Time to “man up” and make a service writer call the shaft’s owner.
I mean I would have called, but I sure didn’t want to. Although I doubt he could have said anything more humiliating to me than the things I had already said to myself.
Turns out he was a really nice guy. A little bummed about it, but he had a “well stuff happens” kind of attitude, or so the service writer told me after the call.
Plan “C”
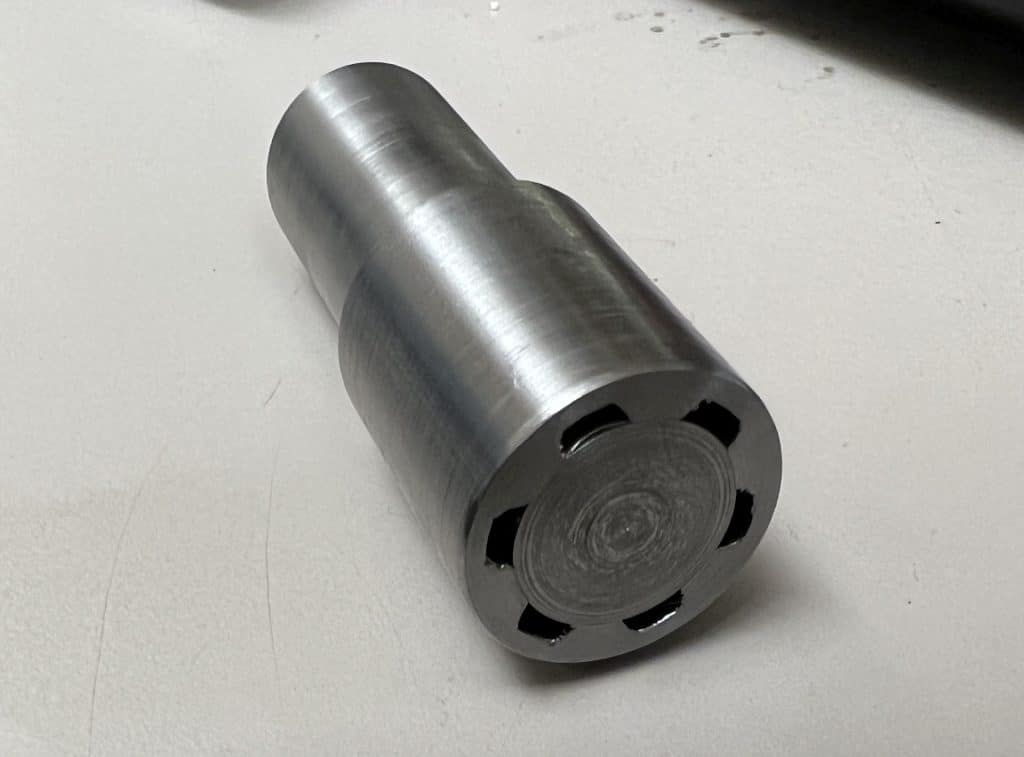
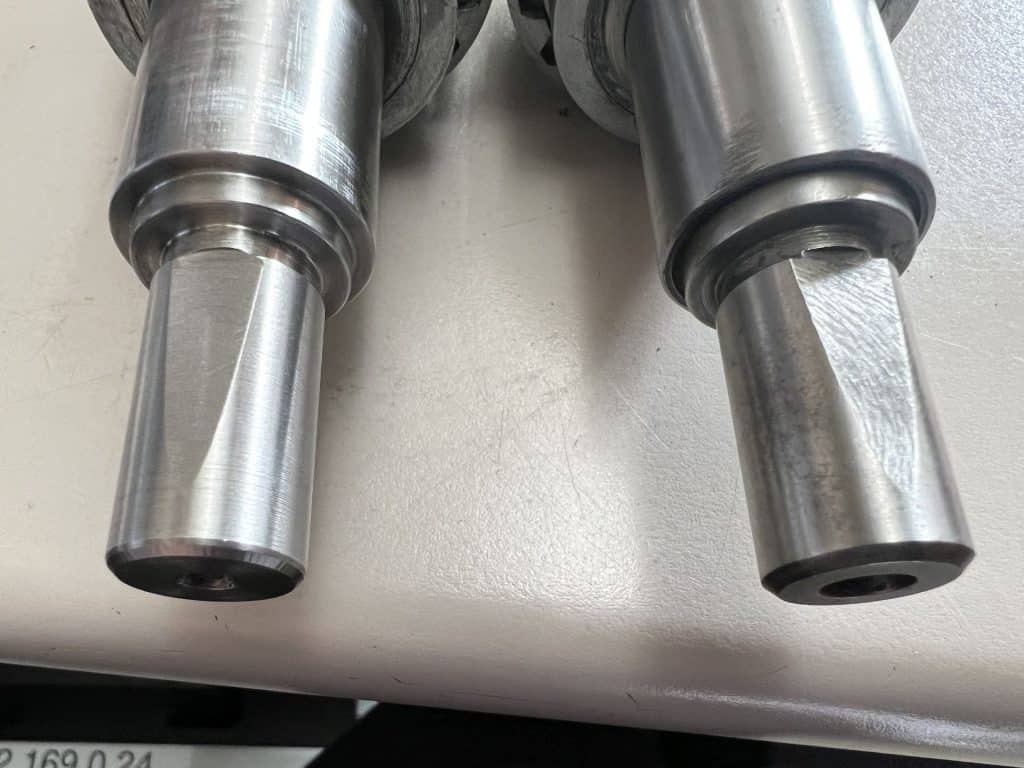
I slept on it and when I woke up I decided it would be relatively easy to make a new shaft, or most of it at least. I have no way to cut internal splines. I’d guess that they were broached with a custom-made broach back in the 50s.
But here’s my plan to make a shaft without needing to cut the splines. First, make another arbor with a slight interference fit for the splines. Cut off the splined section of the shaft. Machine the outside of the shaft concentric with the splines and then use it as a pressed in spline insert in a newly made shaft.
I talked to the customer and offered to make a new shaft, but he said not to worry about it. He would look for one on EBay and in the event he couldn’t find one, he had a relative who is a retired machinist. I said if he didn’t find one on EBay that my offer still stands.
After a while he came back with a shaft he had purchased from EBay, which, unfortunately, was very bent, much like the shaft he already owned. I didn’t want to offer straightening because of my poor success with my last attempt. However, at this point I had been thinking about the shaft for a while and was pretty sure I could build it pretty quickly.
For any real machinists reading this, I probably don’t need to point out that I’m not a professional machinist. I’m a car mechanic who loves making stuff and rarely get an opportunity to do so in my real job.
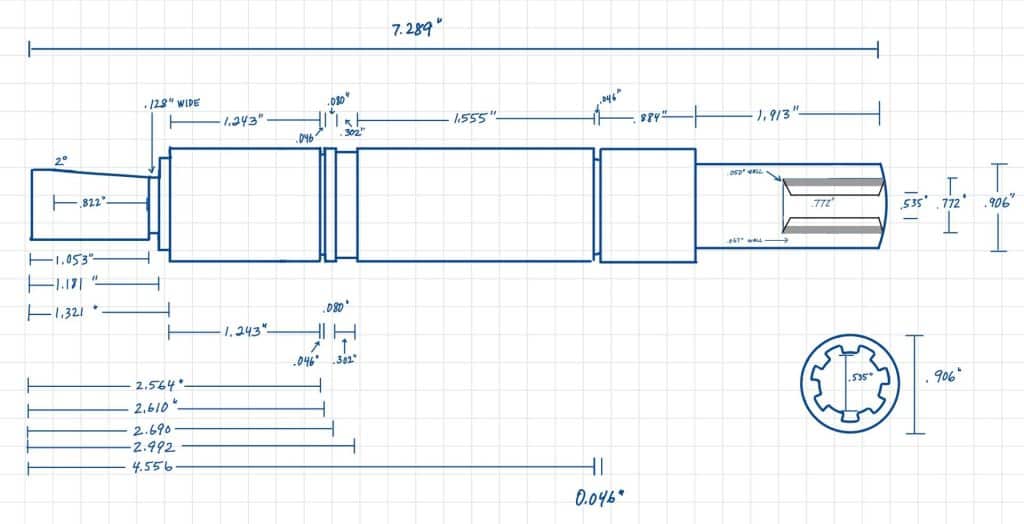
This is one of the first projects I’ve done where I planned an order of operations before starting. Normally I just wing it. I have to admit, spending some time thinking and planning really speeds the project along. I think I’ll start doing this regularly.
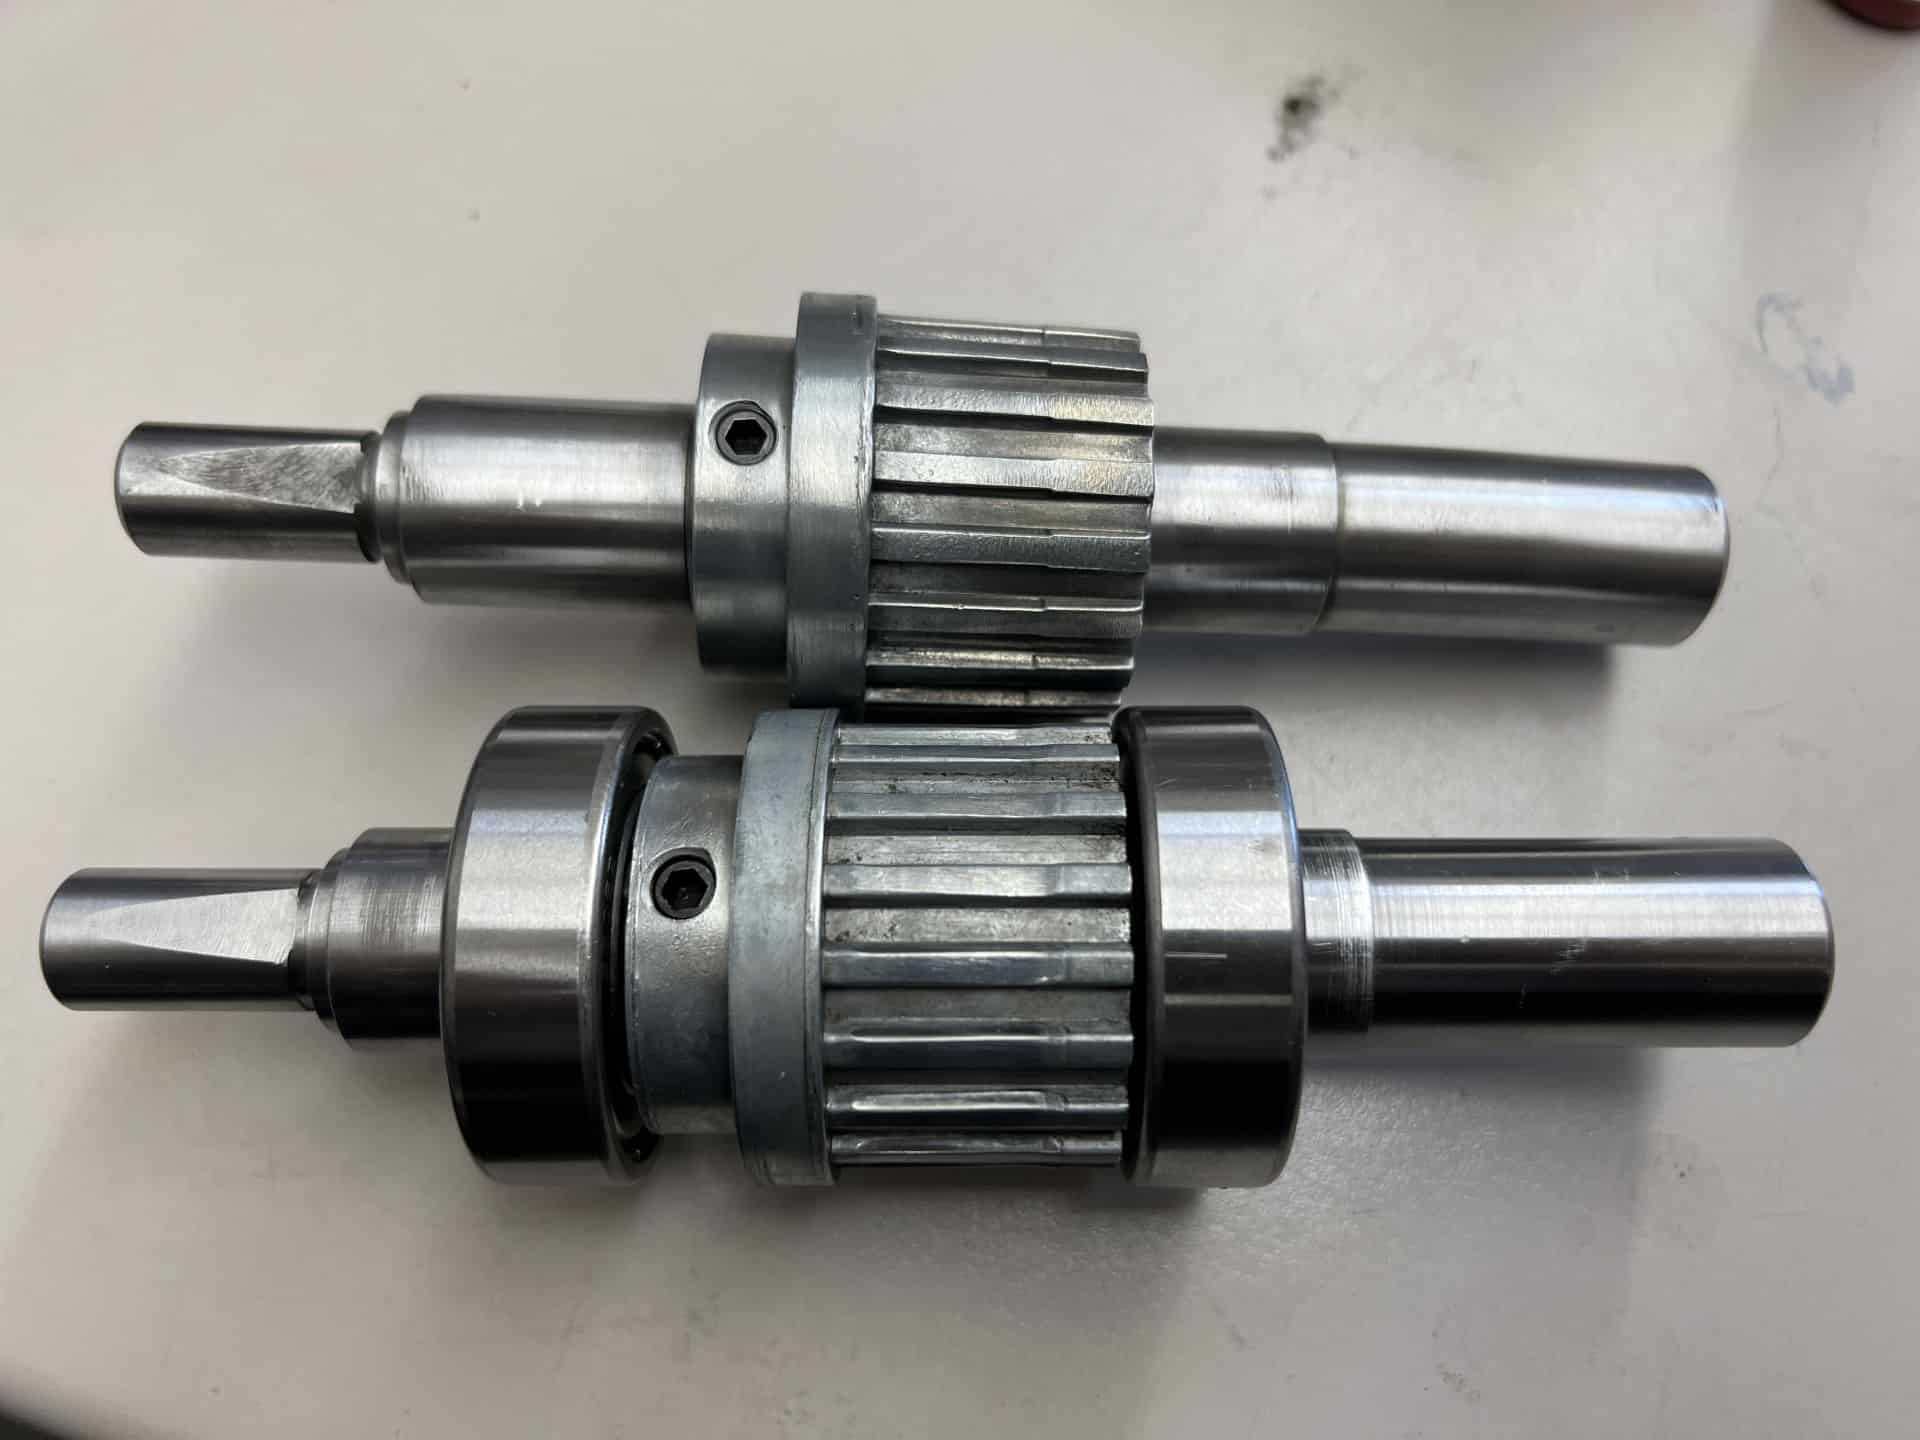
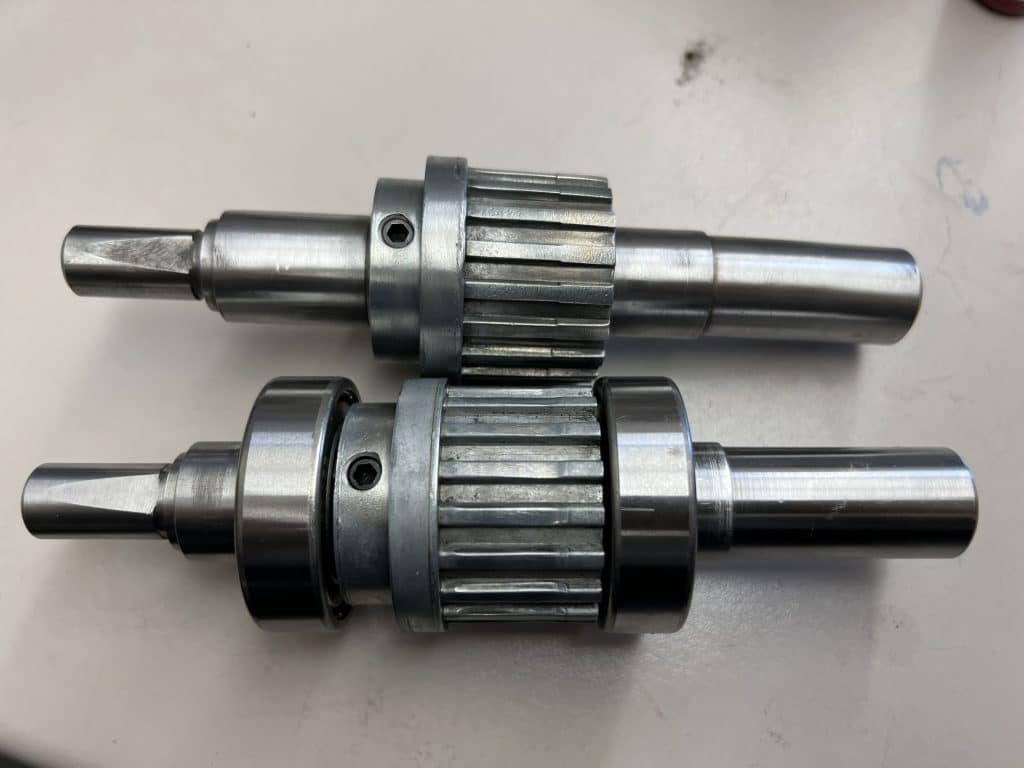
Photos
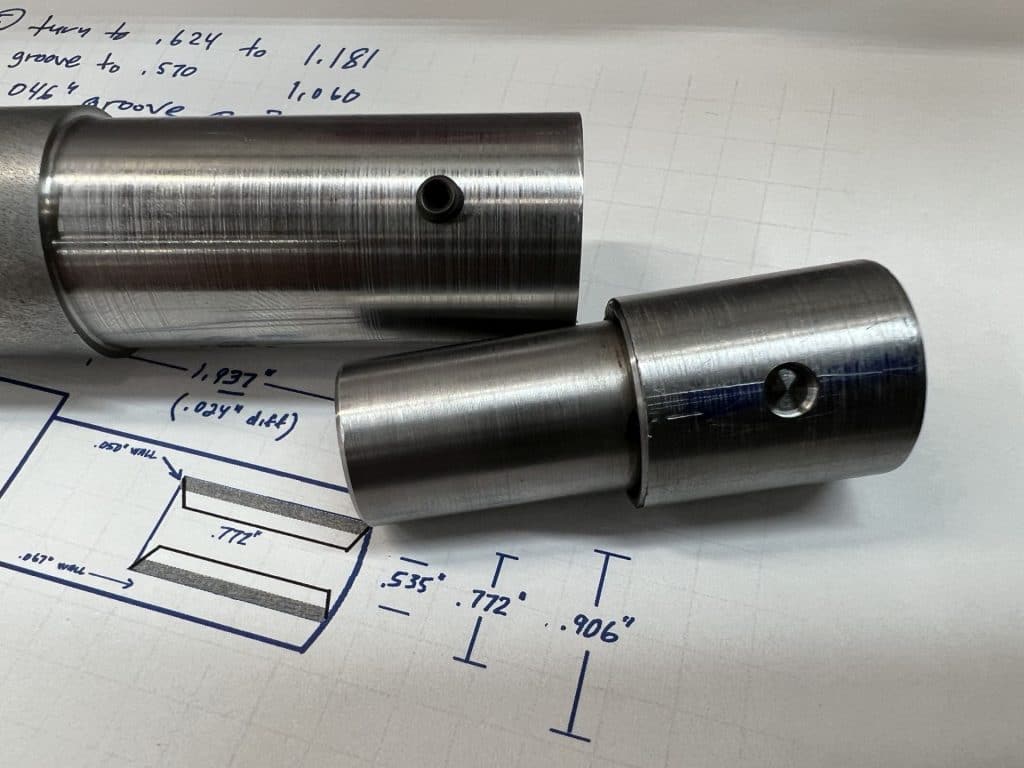
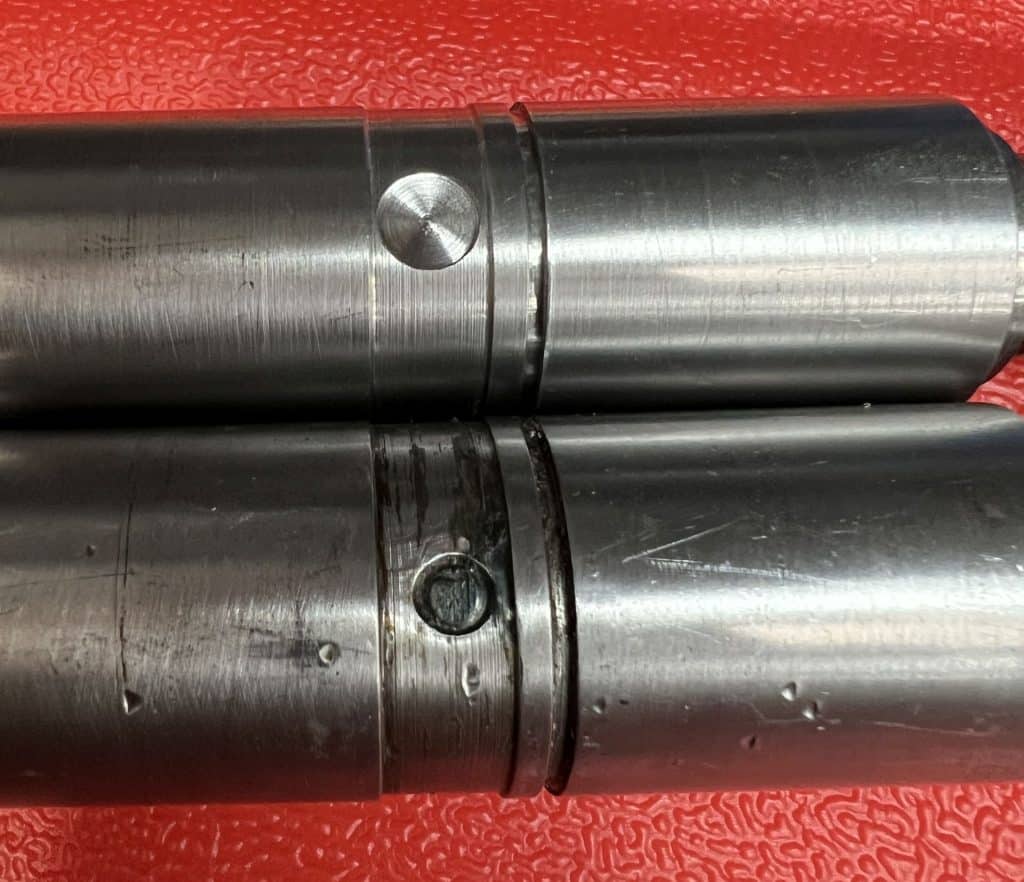
In the picture to the right, I’ve just added the circlip grooves. The old circlips were chewed up, so I purchased new ones. They specify a .046″ wide groove that’s .060″ deep. I used the DRO to find the locations. This is my first lathe with a DRO, and I’ve got to say, it’s really convenient.

I’m not in the least bit bitter about this “six pack” project. In the end I had a good time making the new shaft. That said, I’ll still be a lot more careful in the future.