When a captive bolt breaks inside a subframe, it’s a bummer.
There are few things more frustrating than finding damaged threads in a captive sub-frame nut, except perhaps causing the damaged threads yourself. Murphy’s Law dictates the discovery will usually take place around 3:00 on a Friday as you are are finishing up a clutch or engine repair, giving you little time to do anything but call your customer and a rental car agency. We repair about 8,000 cars a year, and we usually see this problem at least once in a year, so we’ve developed several techniques for dealing with this issue. One of those techniques is outlined below.
What is a captive nut?
First, a little background on why repairing captive nut threads is such a big deal. A captive nut is a nut that is installed inside the frame, sub-frame, or unibody with a tac welds or a holding cage before the assembly is welded together in the factory. There is no way to touch the nut, so there is no easy way to replace it. The tac welds are only strong enough to hold the nut in place over the hole in the frame. Attempts to re-tap the threads to a larger size or install a Time-Sert usually result in the captive nut breaking free of the tac welds, then the nut spins freely, making it impossible to drill or tap.
It’s best to not spend a lot of time moping
We’ve found the best thing to is to spend a very short time planning, then just start working. It’s very easy to stand around staring at the underside of the car thinking, “Wow, this is really screwed up. My day was going fine and now it’s ruined. Isn’t there some easy way to fix this”. It’s best to figure out what needs to be done quickly, then start doing it. Many hands make heavy work light, so here at Art’s, when one mechanic is having a hard time, others will pitch in to help get the job done, knowing that when they are having a hard time, they’ll get the same treatment.
Let’s get to it!
This car came in for a clutch job, and was scheduled to leave on the same day it came in. When we removed the crossmember, we found the rear crossmember bolts did not spin freely once they were loosened. Someone had cross-threaded them into position. Some shops might make their customer buy a new special order sub-frame, adding lots of money and time to the job. Others might find their customer a used part. And a few might just force the bolt back into position and let the next guy worry about it — as seems to be the case with this car.

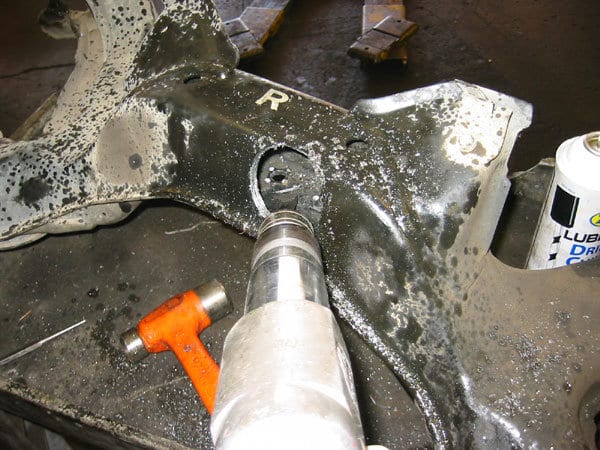
We’ll need some room to work
First we remove the sub-frame from the car. Sometimes this isn’t necessary, but this time it was.
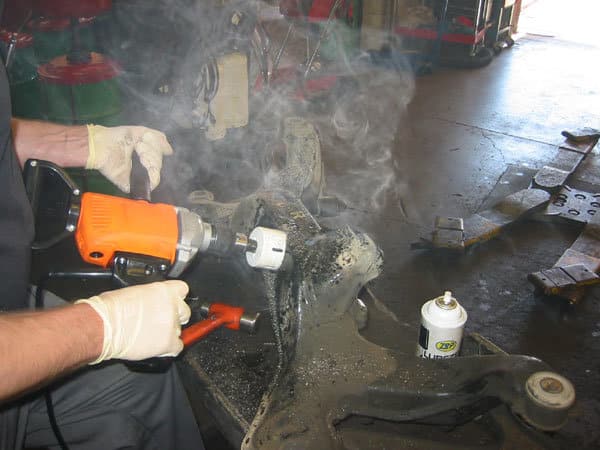
No door? Make one
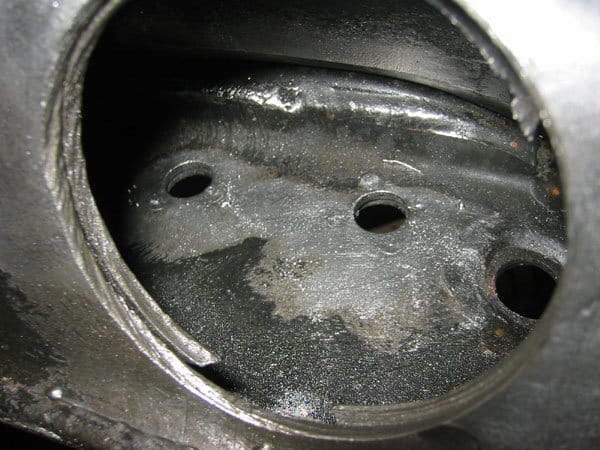
Since there is no access to the captive nut, we have to make our own. Using lube on your hole saw will keep it sharp a lot longer. It will also make a lot of foul smelling smoke.
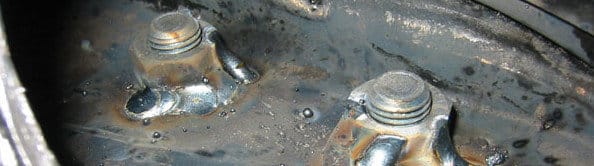
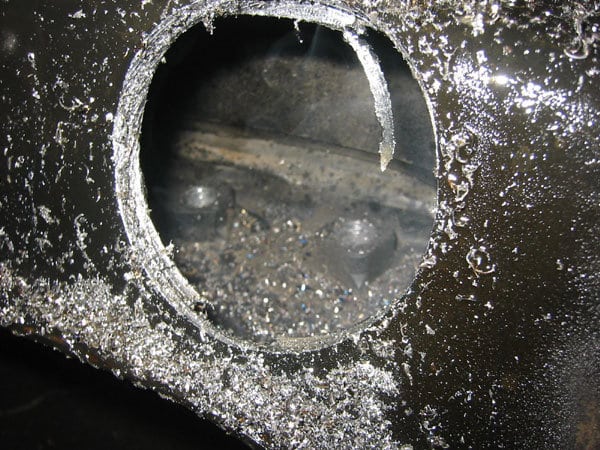
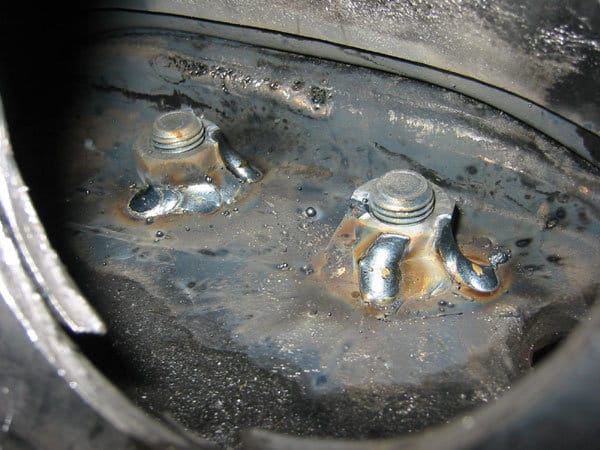
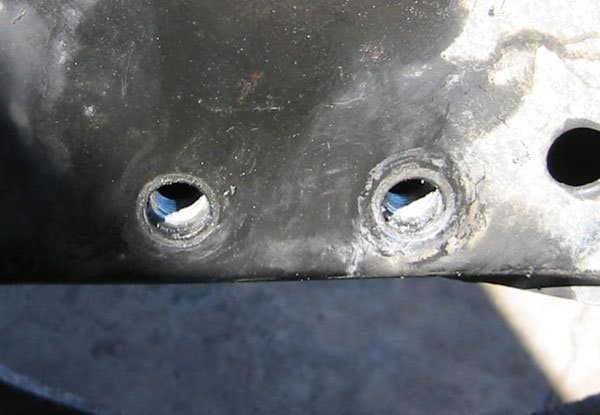
And here the trouble makers are
Here are the captive nuts. The photos distort the depth quite a bit. The nuts are a little over 5 inches past the hole, and the hole is 2 inches in diameter.
Out with the old
The damaged nuts must first be removed. This is easy since the tac welds holding the nuts or the nut cage are always pretty weak. A quick pop with an air hammer is all it takes in most cases.
A little prep work
Once the old captive nuts have been removed, I stuff a die grinder in the hole with a stiff wire brush to remove the paint for better quality welds and easier welding.
Welding in an awkward space
This is not some of my prettiest welding, but considering I had to stuff the MIG gun into the hole past the trigger, then wedge an index finger into the hole to press it while peeking through a 1/2″ gap unoccupied by my finger or the MIG gun, it ain’t too shabby.
Special tools are necessary
Using a “special tool”, borrowed from one of our parts room shelves, I tac weld the disc left in the hole saw back in place.
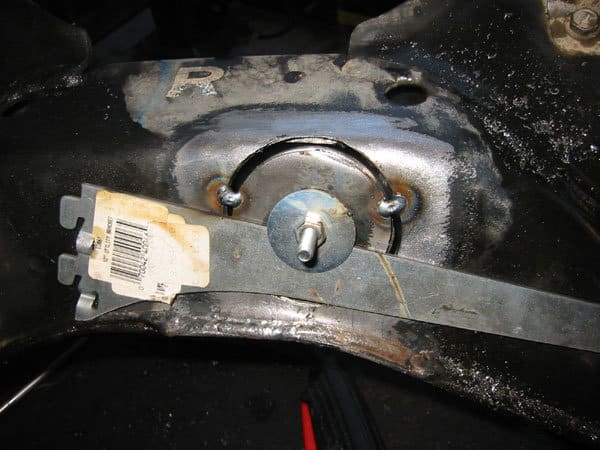
Make it look nice
Next the rest of the gap is filled in and the bold used for the jig is welded in place. I weld the disc back in is mainly for cosmetic reasons. The sub-frame would still be sound with the hole still in it, but in general, we like to do repairs that leave the car looking “normal”.
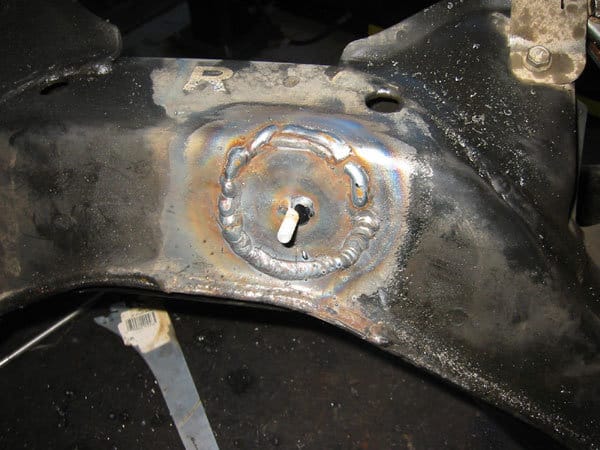
Getting ready for paint
A little work with a flap disc and the subframe is ready for some paint.

Back on the road, same day!
Less than an hour later, the subframe is ready for re-installation. The car will leave the same day it came in. No waiting for a very expensive special order part, or calling around to wrecking yards to try to find one. It’s rare mechanics get to use their skills to actually fix anything. We mostly figure things out and replace parts. However, having some old-school skills can sometimes save the day.
Other articles you might like:
TIG Welding an Aluminum Cylinder Head